|
Voor het aanmaken van een nieuwe Outlook 2010 mailbox klikt u op Bestand.
|
 |
Bij “Accountgegevens” klikt u op de knop + Account toevoegen.
|
 |
Selecteer E-mailaccount.
|
 |
Vul de Uw naam, E-mailadres en Wachtwoord velden in.
|
 |
Selecteer Serverinstellingen of extra servertypen handmatig configureren en druk op de knop Volgende.
|
 |
Selecteer Internet-e-mail en klik op Volgende.
|
 |
Druk bij dit scherm op Volgende.
|
 |
Als alle tests zijn voltooid, klik op Sluiten om door te gaan.
|
 |
Klik bij dit scherm op de knop Voltooien.
|
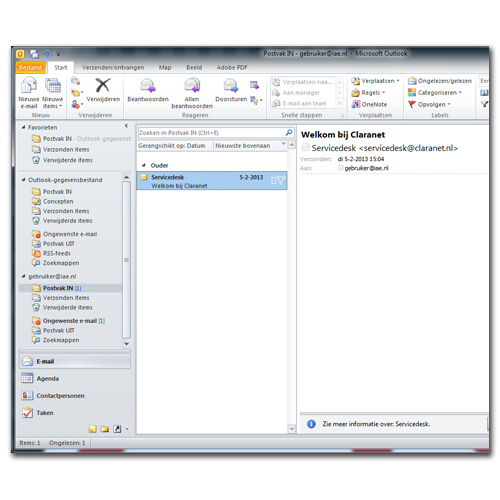 |
Nadat alles juist is ingesteld, ziet u dit Welkom's scherm.
|